An Introduction To Your Atarim Dashboard for Website Owners
What's different about the dashboard once you're logged in as a Website Owner — not a repeat of the general project tour.

Most of the Atarim dashboard works the same whether you're an agency or a Website Owner. The chat panel, the screenshots, the Approval Queue, and your credits all behave identically — that general layout is covered in Introduction to Atarim.
This article covers what's actually different on your side: a smaller account with its own limits, a scoped view of only your own projects, and a couple of screens that behave differently depending on who's paying.
In this guide you'll learn how to log in, make your first request, handle approvals and top up credits.
What’s Different on Your Side
A Website Owner account is a smaller, focused version of Atarim. It’s scoped to your own sites and your own small team, with agency-side tooling left out.
| What you get | Included? |
|---|---|
| Your own projects | Yes |
| Your own team members | Yes |
| AI chat with Claro | Yes |
| AI reviews and approvals | Yes |
| Chrome extension and WordPress plugin | Yes |
| Comments and image annotations | Yes |
| Task status and priority | No |
| Kanban boards | No |
| Shared email inbox | No |
| Analytics and reporting | No |
| Multiple workspaces | No |
Step-by-Step Guide
Step 1: Accepting Your Invite
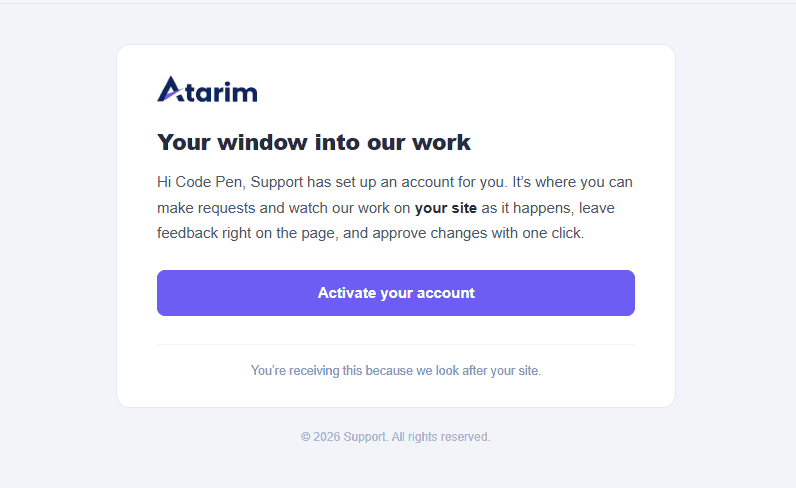
Your agency sets everything up before you arrive. By the time the invite reaches you, a workspace and your project already exist — accepting simply attaches you to them.
- Select the invite link your agency sent you.
- If you already have an Atarim account, accept and you’re in. If not, register first — you’ll be asked to set a password. Either way, use the email address the invite was sent to.
- You’re attached to the workspace your agency prepared, as its Website Owner.
- You land on a Projects screen scoped entirely to your own site or sites.
Signing In Later
After your first visit, you sign in with the email address you registered with.
Instructions:
- Open a link your agency sent you, or go to app.atarim.io.
- Enter your Email and Password, then select Log In. If you registered with Google, select Sign In with Google instead.
- If you’ve forgotten your password, select Forgot your password? and follow the email.
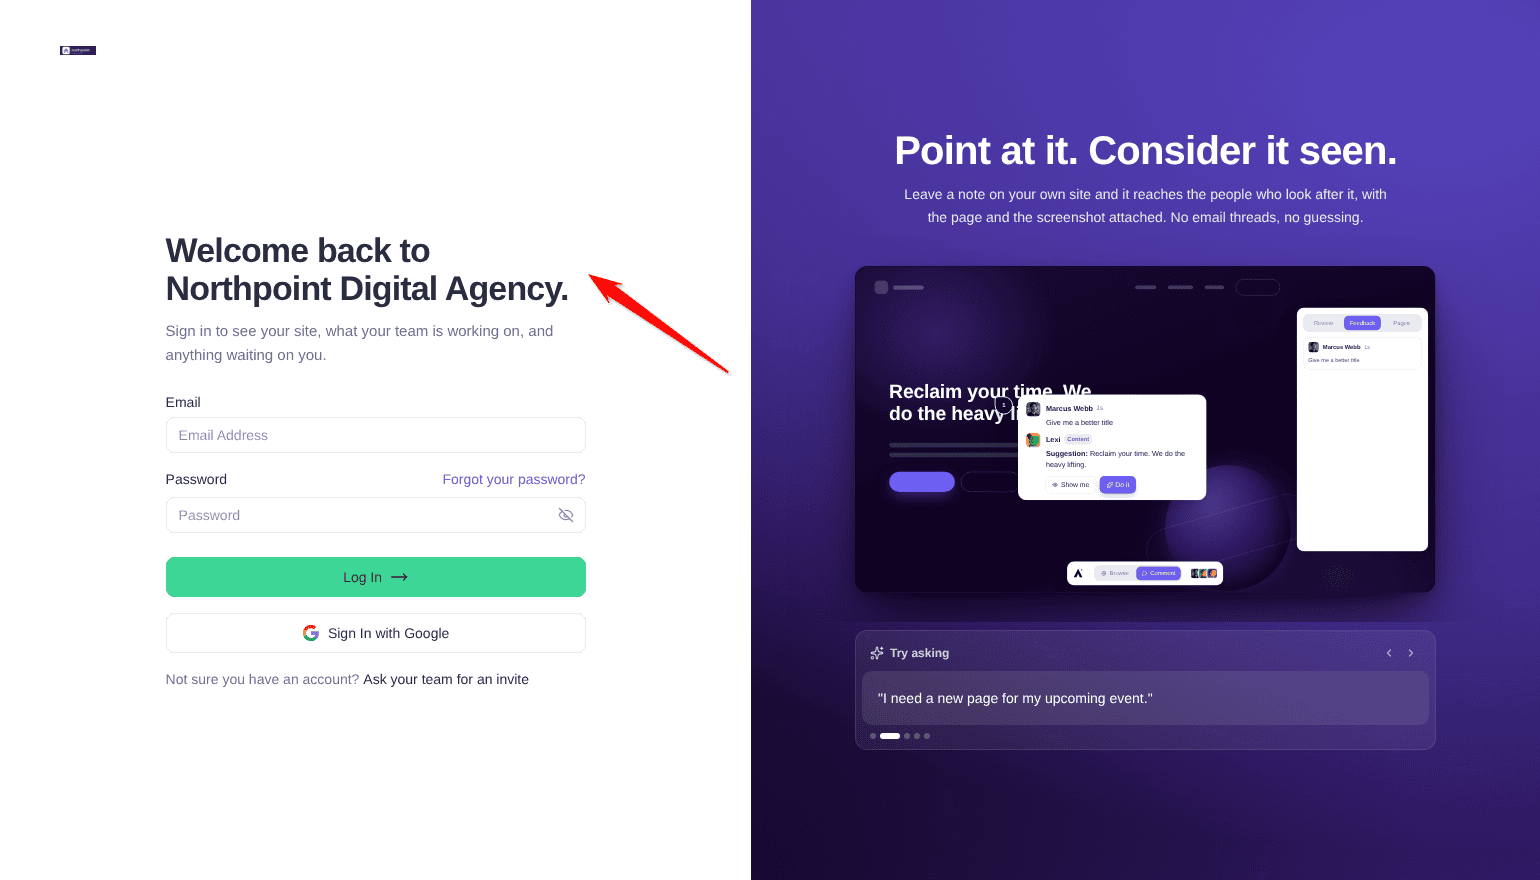
A link from your agency opens their own version of the sign-in page. It reads Welcome back to followed by your agency’s name, and if your agency uses White Label, it shows their logo and color too. Not sure you have an account? Ask your agency for an invite.
Step 2: Finding Your Way Around
Your dashboard is a focused version of Atarim, scoped to your own sites. Most of the agency-side tooling isn’t part of your account, so it doesn’t appear at all.
Instructions:
- Check the sidebar. It contains Projects and Workflows, with Help at the bottom.
- Select Projects to see your site or sites as cards.
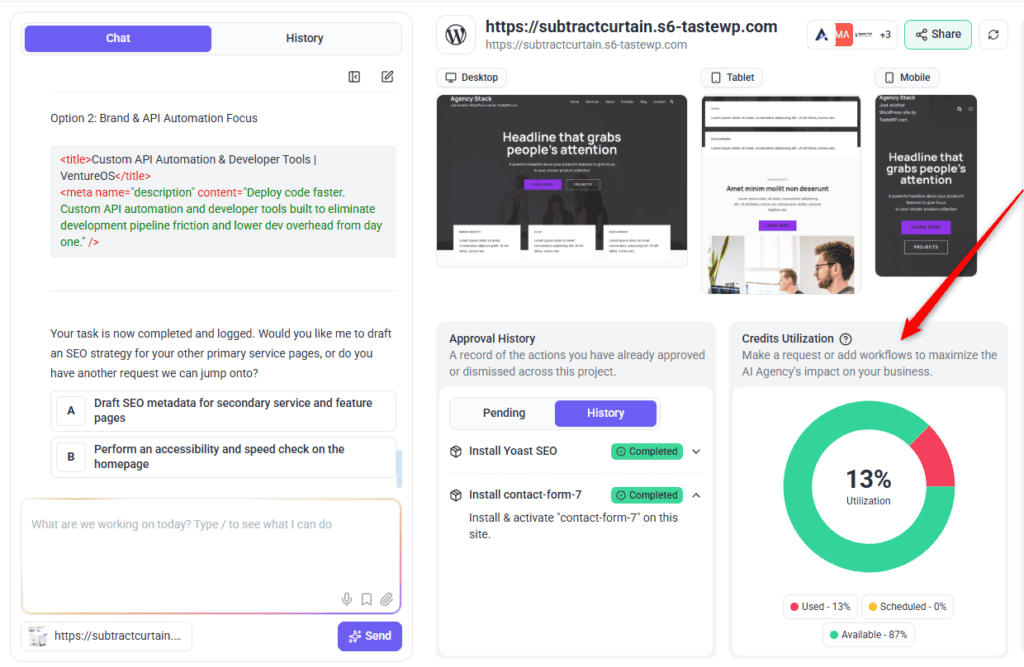
- Select a project card to open its dashboard (Beta), where the chat panel, screenshots, Approval Queue, and credits all live.

Step 3: Making Your First Request
Everything starts with a conversation. You don’t need to know how Atarim will handle a request before you make it.
- Open your project to reach its dashboard (Beta).
- Find the chat panel and describe what you want in plain language. There’s no syntax to learn.
- Or leave a comment directly on the live page, the same way anyone else on the project would.
- Watch for Claro’s response. Depending on what you asked, it will either show you how to do it or do it directly. For anything bigger, contact your agency.

Step 4: Approving Work
Some changes are queued for your sign-off before they run. The Approval Queue is where that happens.
Instructions:
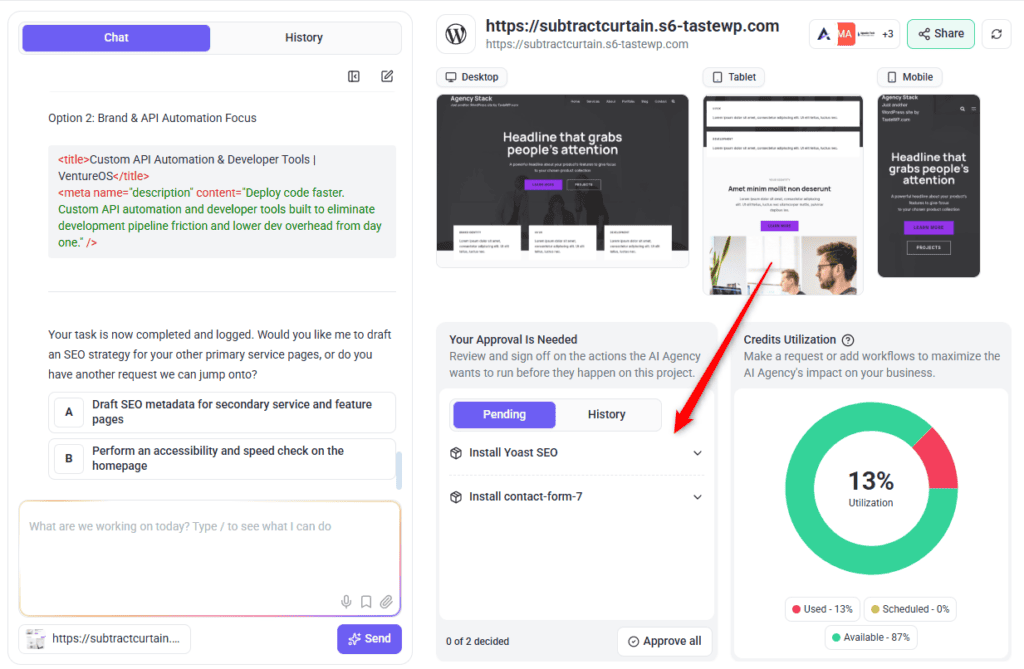
- Open your project dashboard and find the Approval Queue.
- Stay on the Pending tab to see anything waiting on you. The panel describes it as reviewing and signing off on actions the AI Agency wants to run before they happen on this project.
- Review the specific change described.
- Select Approve or Decline.
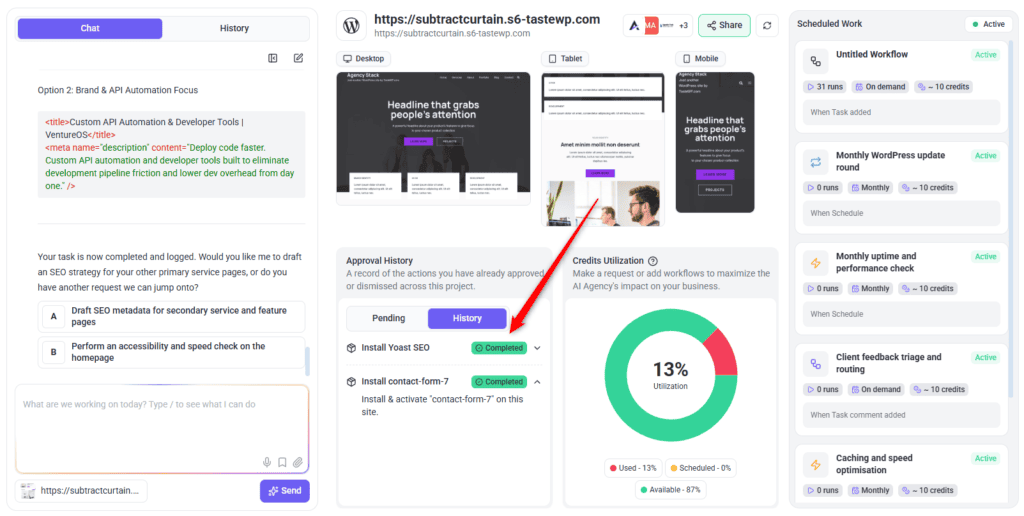
- Switch to the History tab at any point for a record of what you’ve already approved or dismissed.
Step 5: Watching Your Credits
AI actions consume credits. Your project dashboard (Beta) shows a Credits Utilization panel with how much you’ve used, how much is scheduled, and how much remains.
Instructions:
- Open your project dashboard.
- Find the Credits Utilization panel.
- Check the Used, Scheduled, and Available figures.
- If you’re running low, contact your agency — they allocate credits to your account from their own pool.
FAQs
Why is my sidebar smaller than my agency’s?
Agency-side tools like People, Settings, and Analytics aren’t part of a Website Owner account. Your view is scoped to your own projects.
Can I see my agency’s other clients?
No. Your account only ever shows your own projects and your own users.
How many sites and people can I have?
It depends on your plan and on whether your agency funds your account. Ask your agency if you are not sure.
Why can’t I set a task’s status or priority?
Those are agency-side controls and aren’t included in a Website Owner account.
Does anything happen on my site without my approval?
Some actions run straight away, such as edits to draft pages. Plugin installs the AI asks for in chat, and changes it makes to published pages with Do It or a page builder, wait in the Approval Queue for a person to sign them off.
Who do I ask if I’m not sure whether I’m self-paying or agency-billed?
Your agency. It determines whether Get More Done opens a top-up screen or routes you to them.
Why does my dashboard carry my agency’s logo?
Your agency has set up White Label, which replaces Atarim’s branding with their own.
Why is my approval queue always empty?
An empty queue means nothing is waiting on you, not that something has gone wrong.
Why can’t Claro edit my site directly?
Direct editing needs a WordPress site connected through the Atarim plugin. If your project is registered as a custom URL site, Claro will explain what needs doing instead.
Conclusion
Most of your dashboard works exactly as it does for your agency. The differences that matter are the narrower sidebar, the smaller set of features on your plan, and how credits get topped up depending on who's paying.
The one habit worth building is checking your Pending approvals. Almost everything else runs on its own, but work genuinely stops until you sign it off.
Tips & best practices
- Check your Pending approvals regularly — work can quietly stall waiting on your sign-off
- Ask your agency early whether you're self-paying or agency-billed, so Get More Done doesn't surprise you
- Describe what you want in plain language rather than trying to guess how Atarim will handle it
- Leave comments directly on the live page when the change is visual — it's faster than describing where something is
- Read Claro's opening message on a new project; it's a first review of your site you didn't have to ask for